How to Remove the Hose Reel from Your Wall Mount
A step-by-step disassembly guide for Active wall-mounted hose reels.
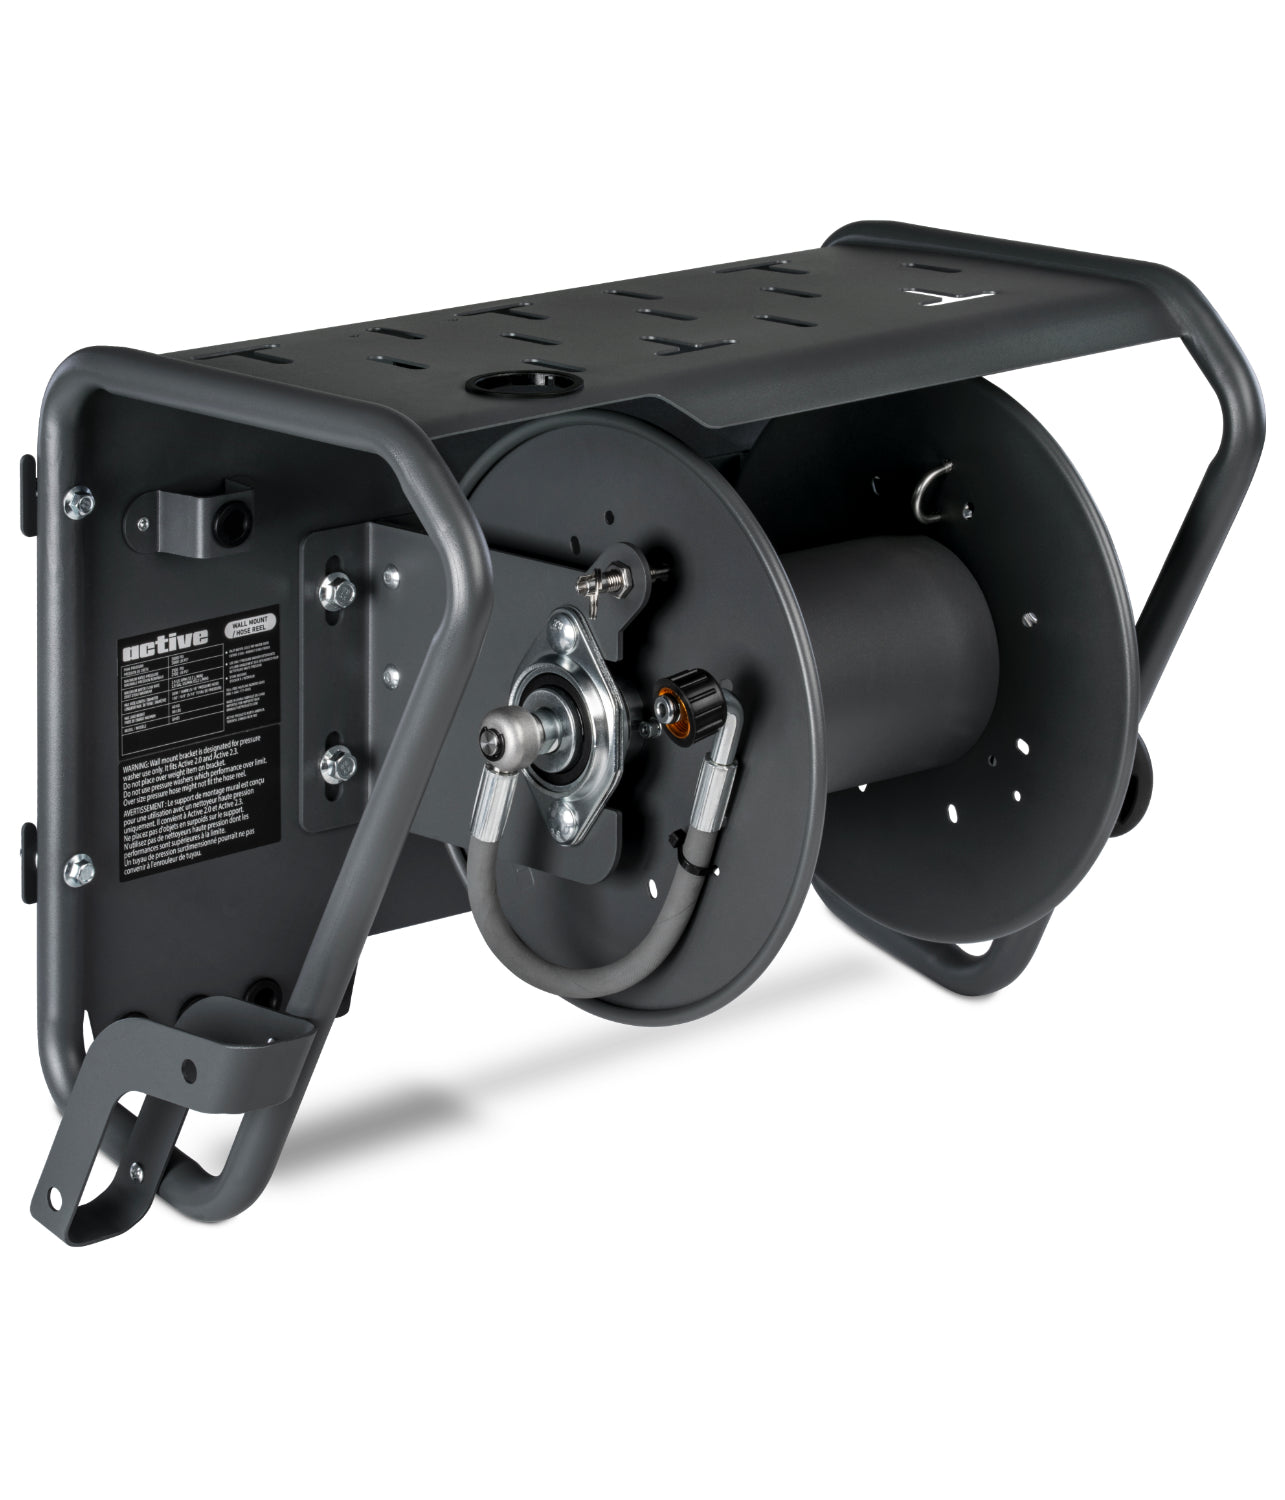
Overview
Whether you're performing maintenance, replacing a part, or simply inspecting the components, removing your hose reel from its wall mount is a straightforward process. This guide walks through each step required to disassemble the reel safely and efficiently.
Tools Required
- 13mm ratcheting wrench
- 15mm ratcheting wrench
- 16mm ratcheting wrench
- Flathead screwdriver
Step-by-Step Removal Instructions
Step 1: Position the Assembly
Place the entire hose reel and wall mount assembly on a stable table or workbench with the shelf side (where the pressure washer typically sits) facing downward.
Step 2: Remove Bolts from the Back of the Mount
Examine the bolts on the rear side of the mount:
- Outer bolts: Hold the bolt steady with a 13mm wrench while using a 16mm ratchet to loosen the nut.
- Inner bolts: Use a 15mm ratchet directly on the nuts. These can be removed without holding the bolt on the other side.
Step 3: Remove the Mounting Plate
Once all bolts are removed, carefully lift off the mounting plate and set it aside.
Step 4: Rotate the Wall Mount
Keeping the reel in place, rotate the wall mount so its back panel lies flat against the table.
Step 5: Lift Reel Off Mount
With the back panel down, lift the reel unit straight up and off the wall mount. This completes the main separation.
Step 6a: Remove the Whip Hose C-Clip
Using a flathead screwdriver, carefully pry off the C-shaped retaining clip located at the base of the whip hose. Once removed, the hose fitting should slide off the reel shaft. If it's snug, gently wiggle it rather than forcing it.
Step 6b: Loosen the Shaft Nuts
With a 15mm wrench, remove the nuts between the reel disc and the silver support brackets holding the shaft. These nuts keep the reel locked in position. The space is tight, so take your time.
Step 7: Remove Support Brackets and Bearings
Once the nuts are off, remove the silver brackets and the bearing assemblies. Place them on a clean surface to avoid losing any parts.
Step 8: Lift the Reel Off the Support Plate
Finally, lift the hose reel straight up off the support plate. At this point, the entire unit should be disassembled.
Reassembly Notes
To reinstall the reel, follow these steps in reverse order. Ensure each component is aligned properly and avoid over-tightening bolts or fittings. If you encounter any issues during reassembly, refer to your product manual or contact support.